


Since I am currently working on a “Flare”, which is to receive a (simple) application in the center sail, I thought you could write down the individual steps and document them with photos. So you have a nice guide for all who are also planning such a work and still need some info.
This listing does not claim to be complete and certainly does not show the only way to applique a kite. It is only (m)one version.
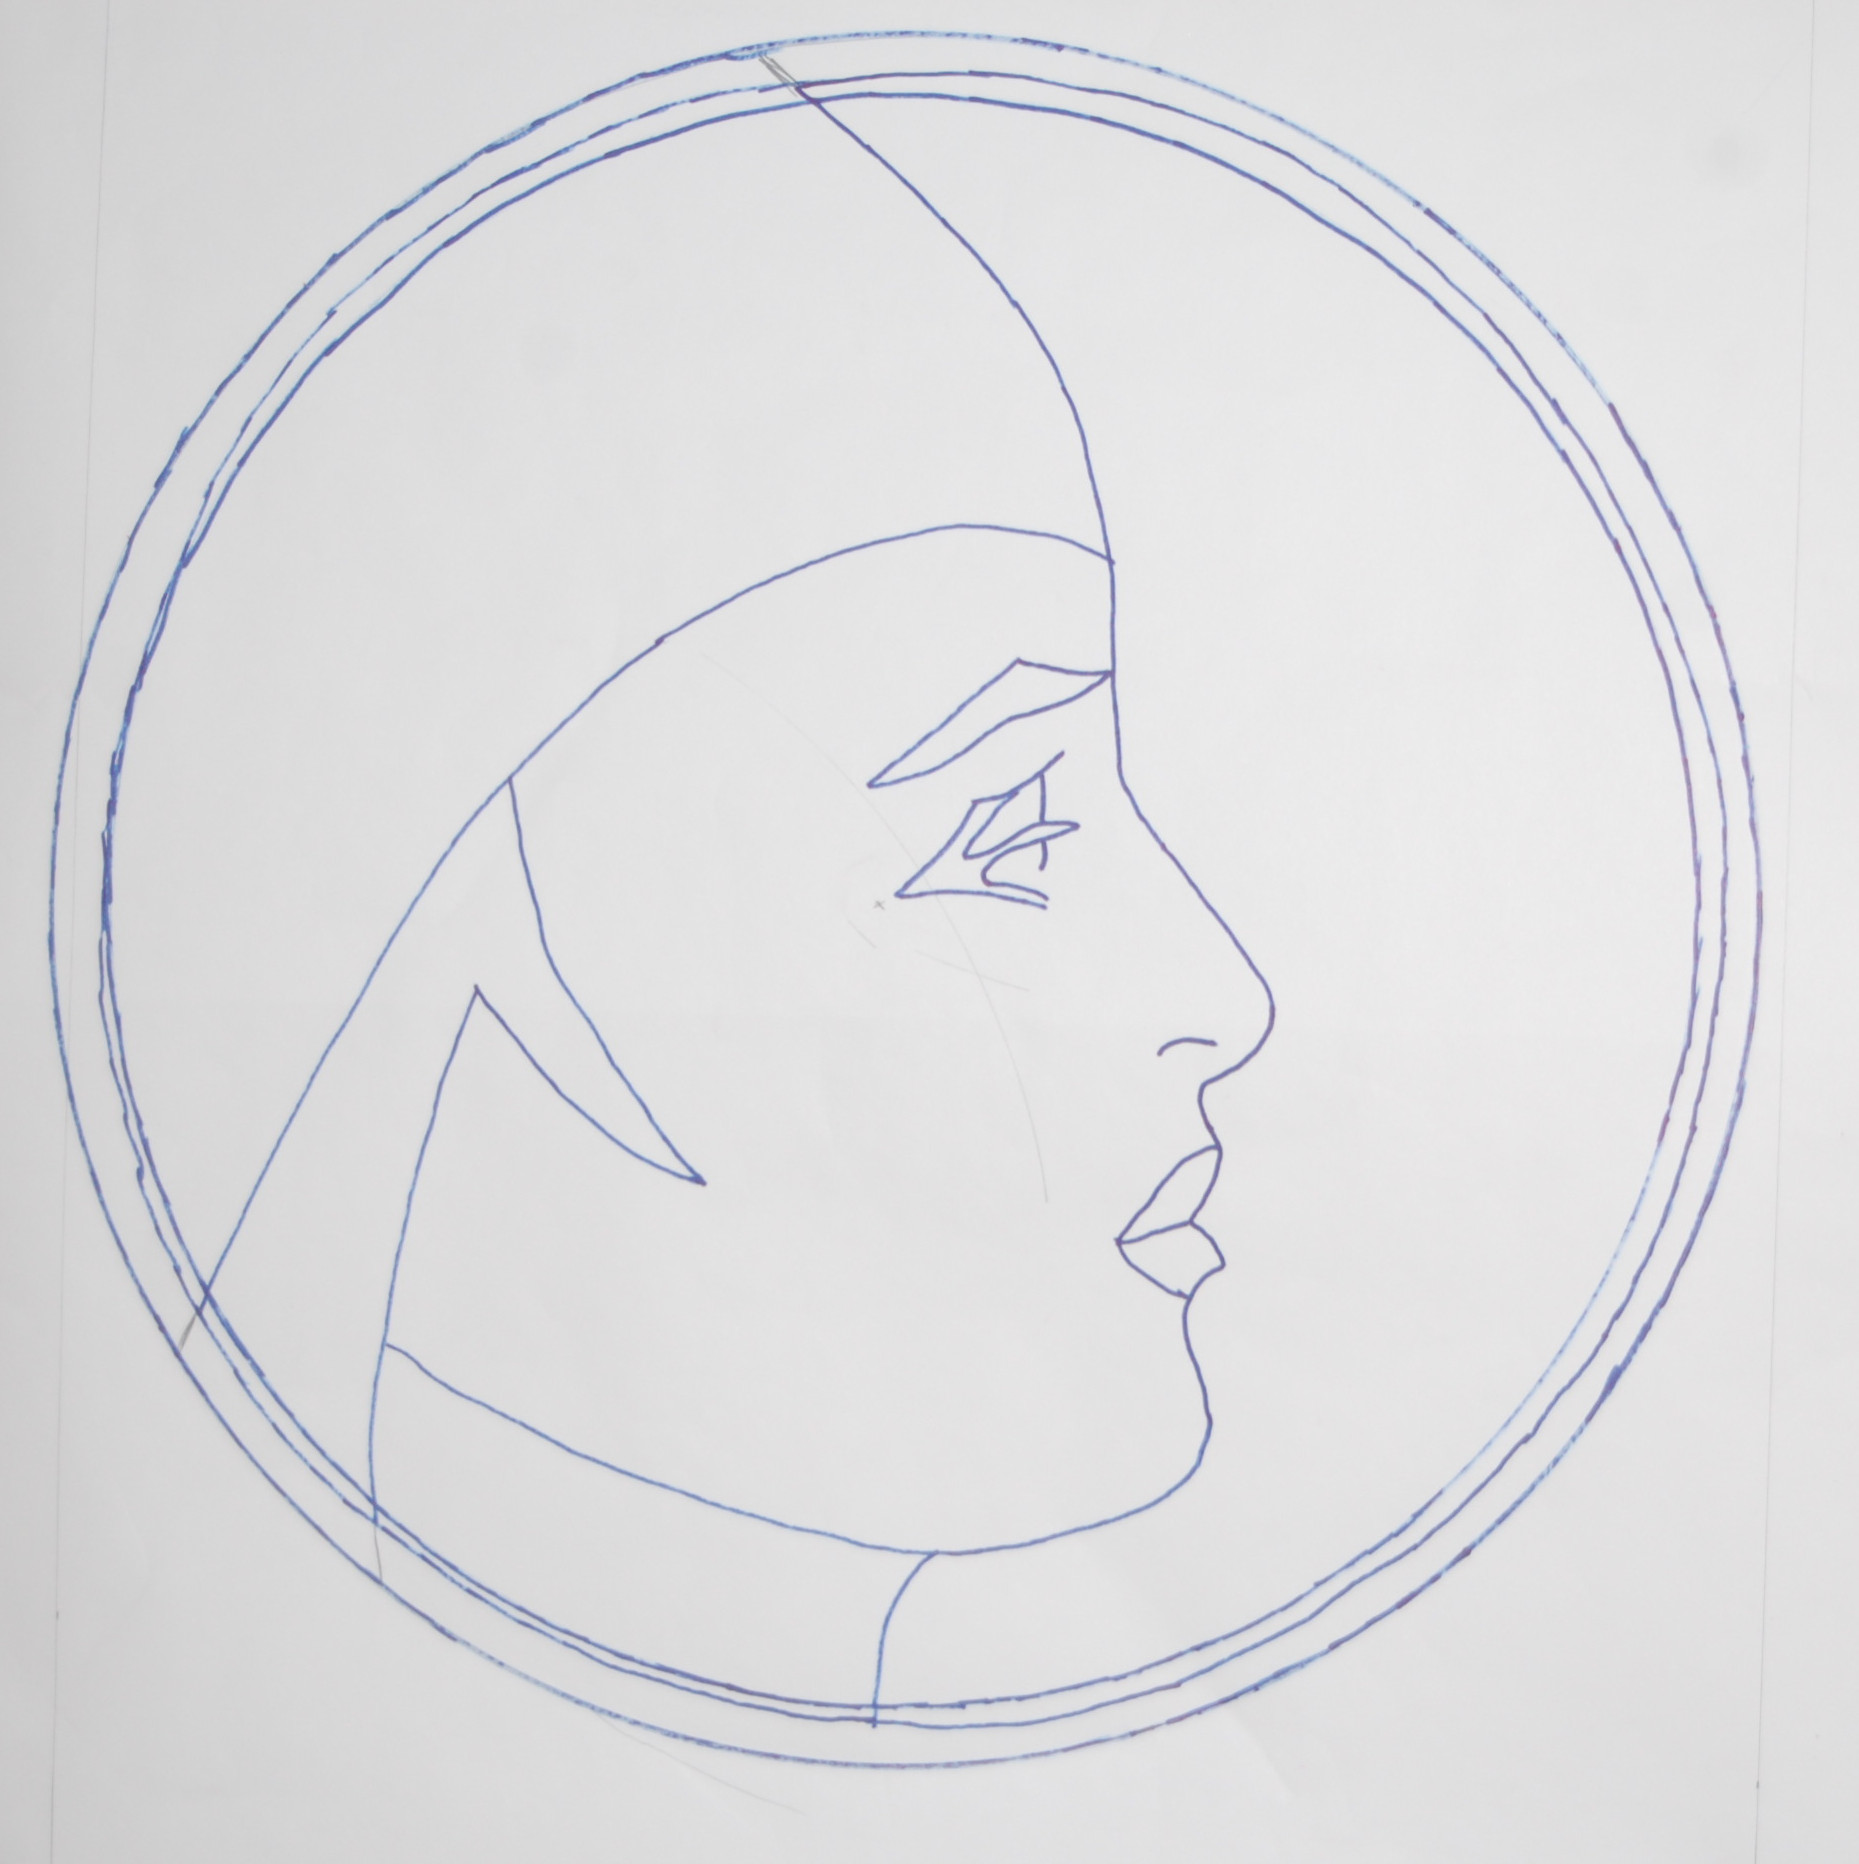
1. Motif
A simple motif was quickly found, because I still found a template of José Sainz, which I once got from him in 1994. Although I have already processed more difficult motifs, the simple motif is enough for me at the moment, because in the course of the years in which I have not been so busy with sewing kites, my sewing skills have certainly not become better 😳
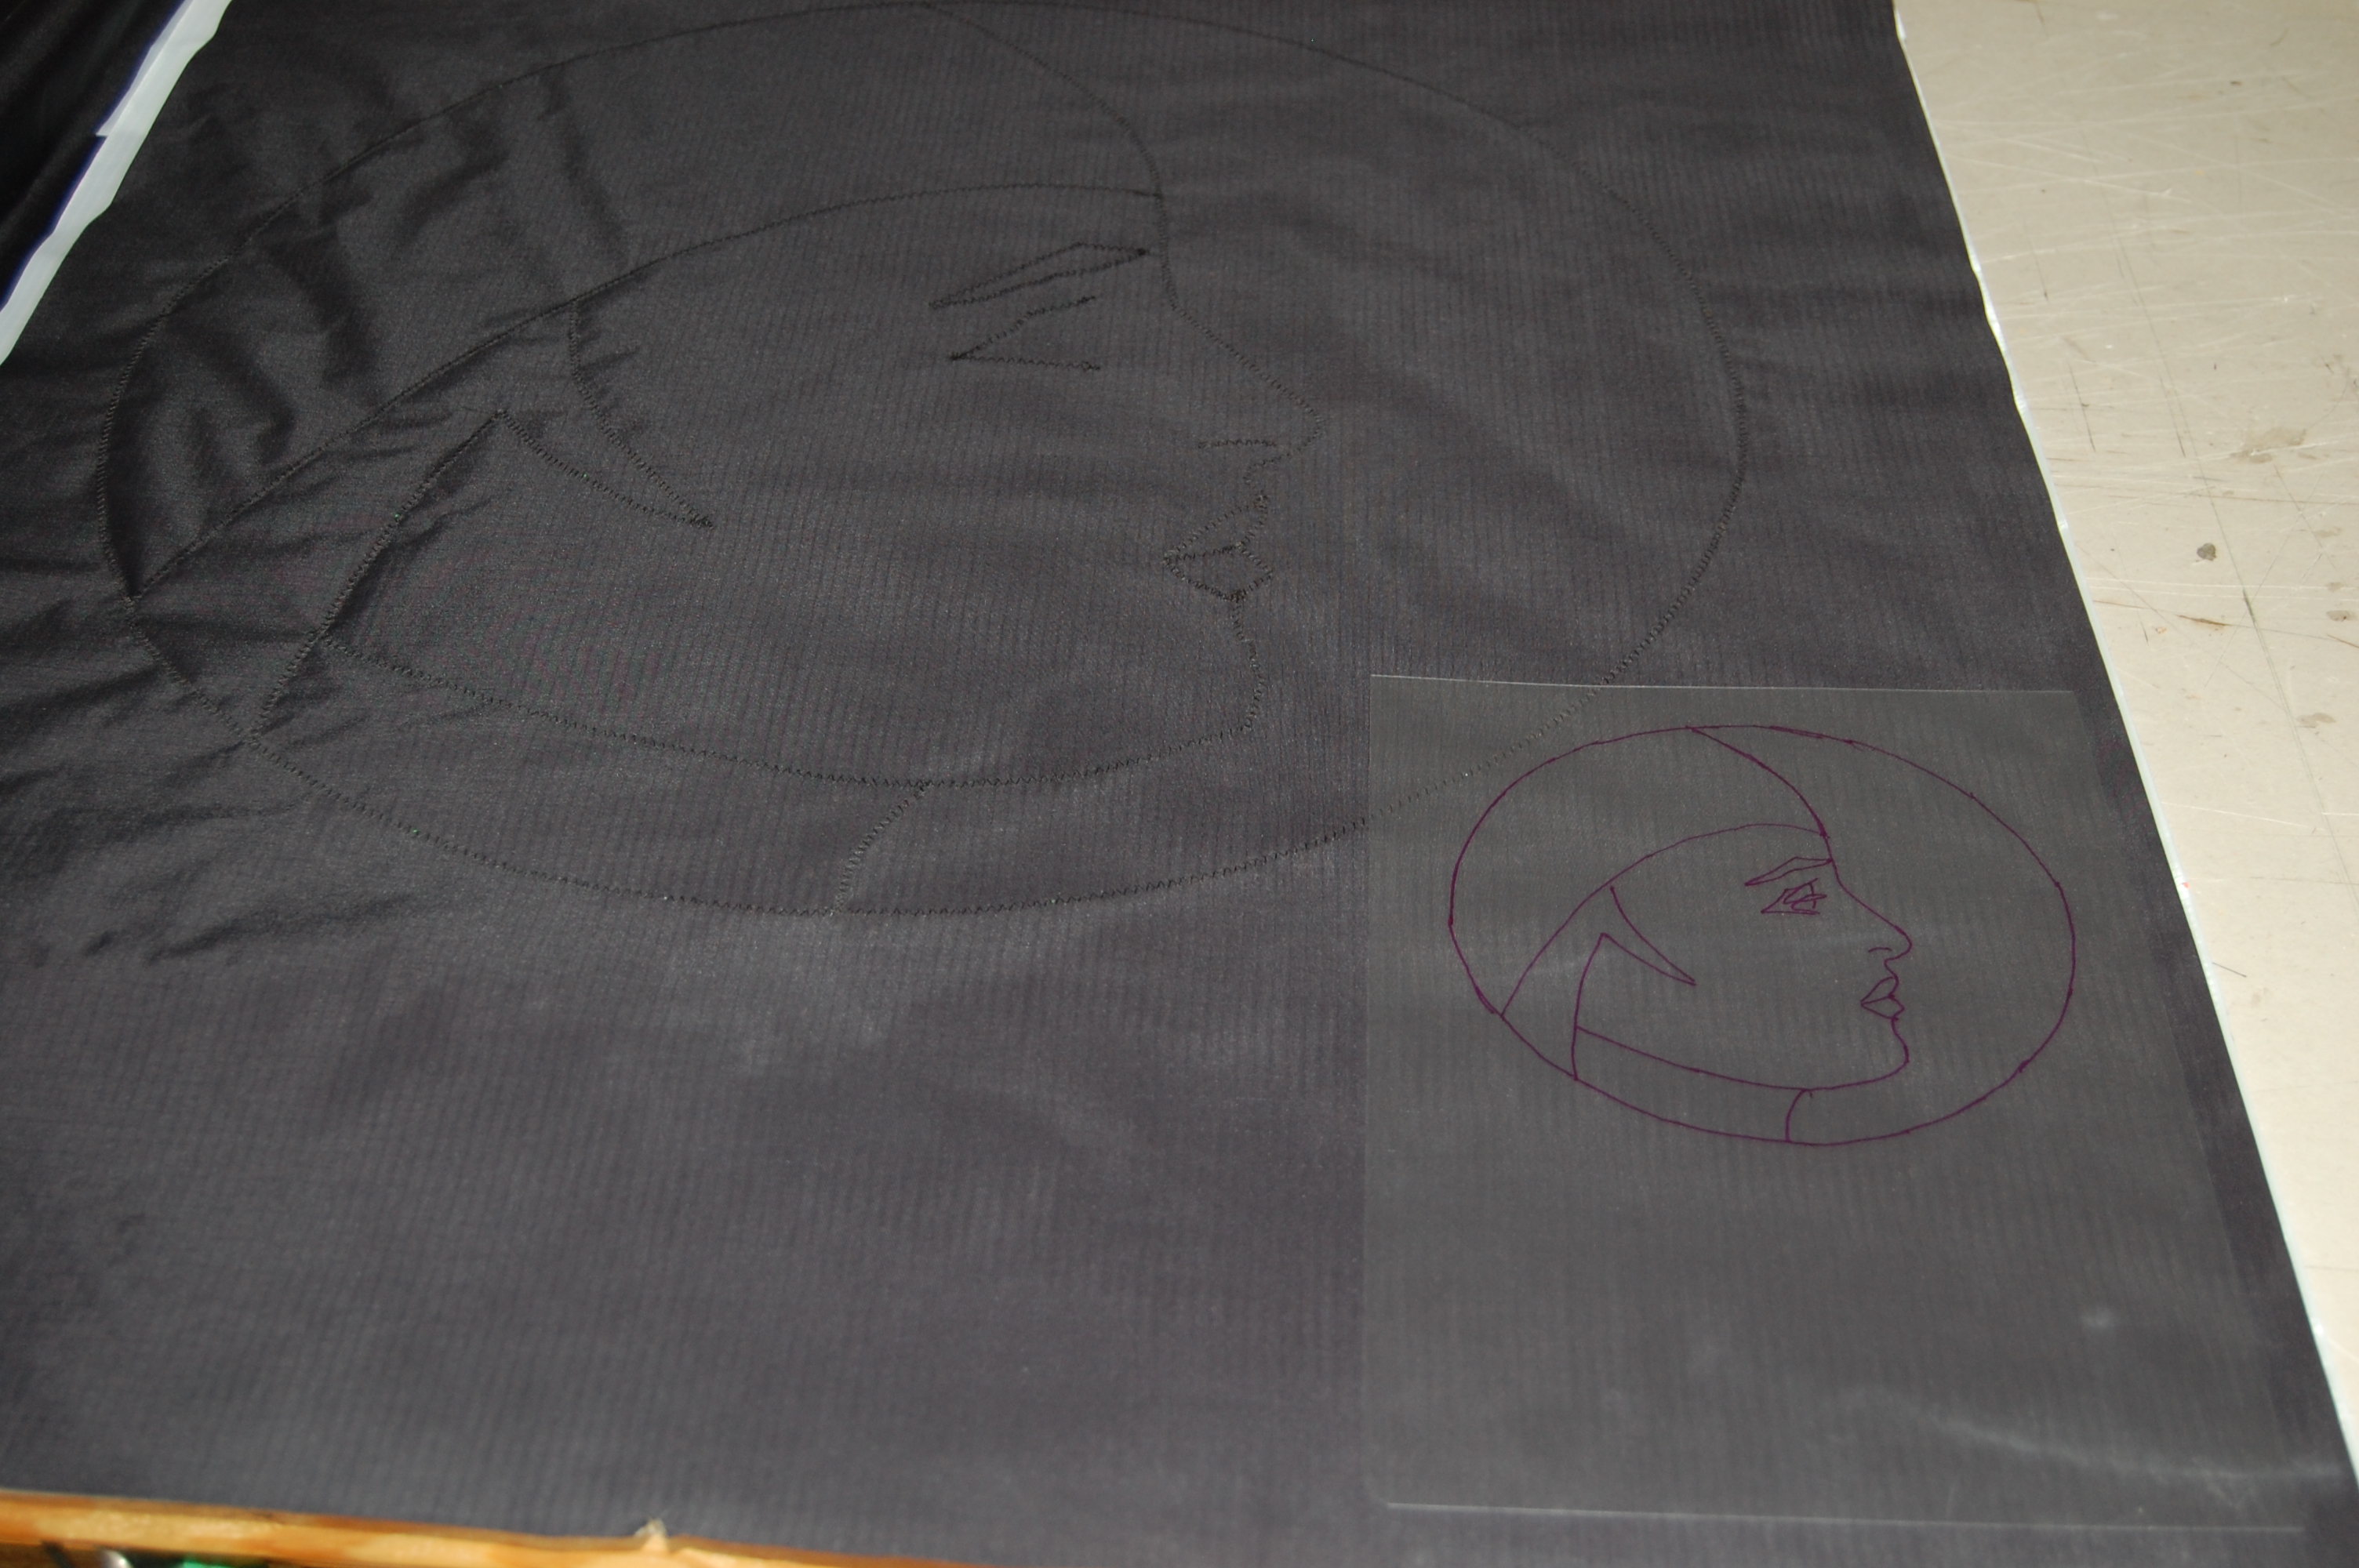
2. Transfer to cloth
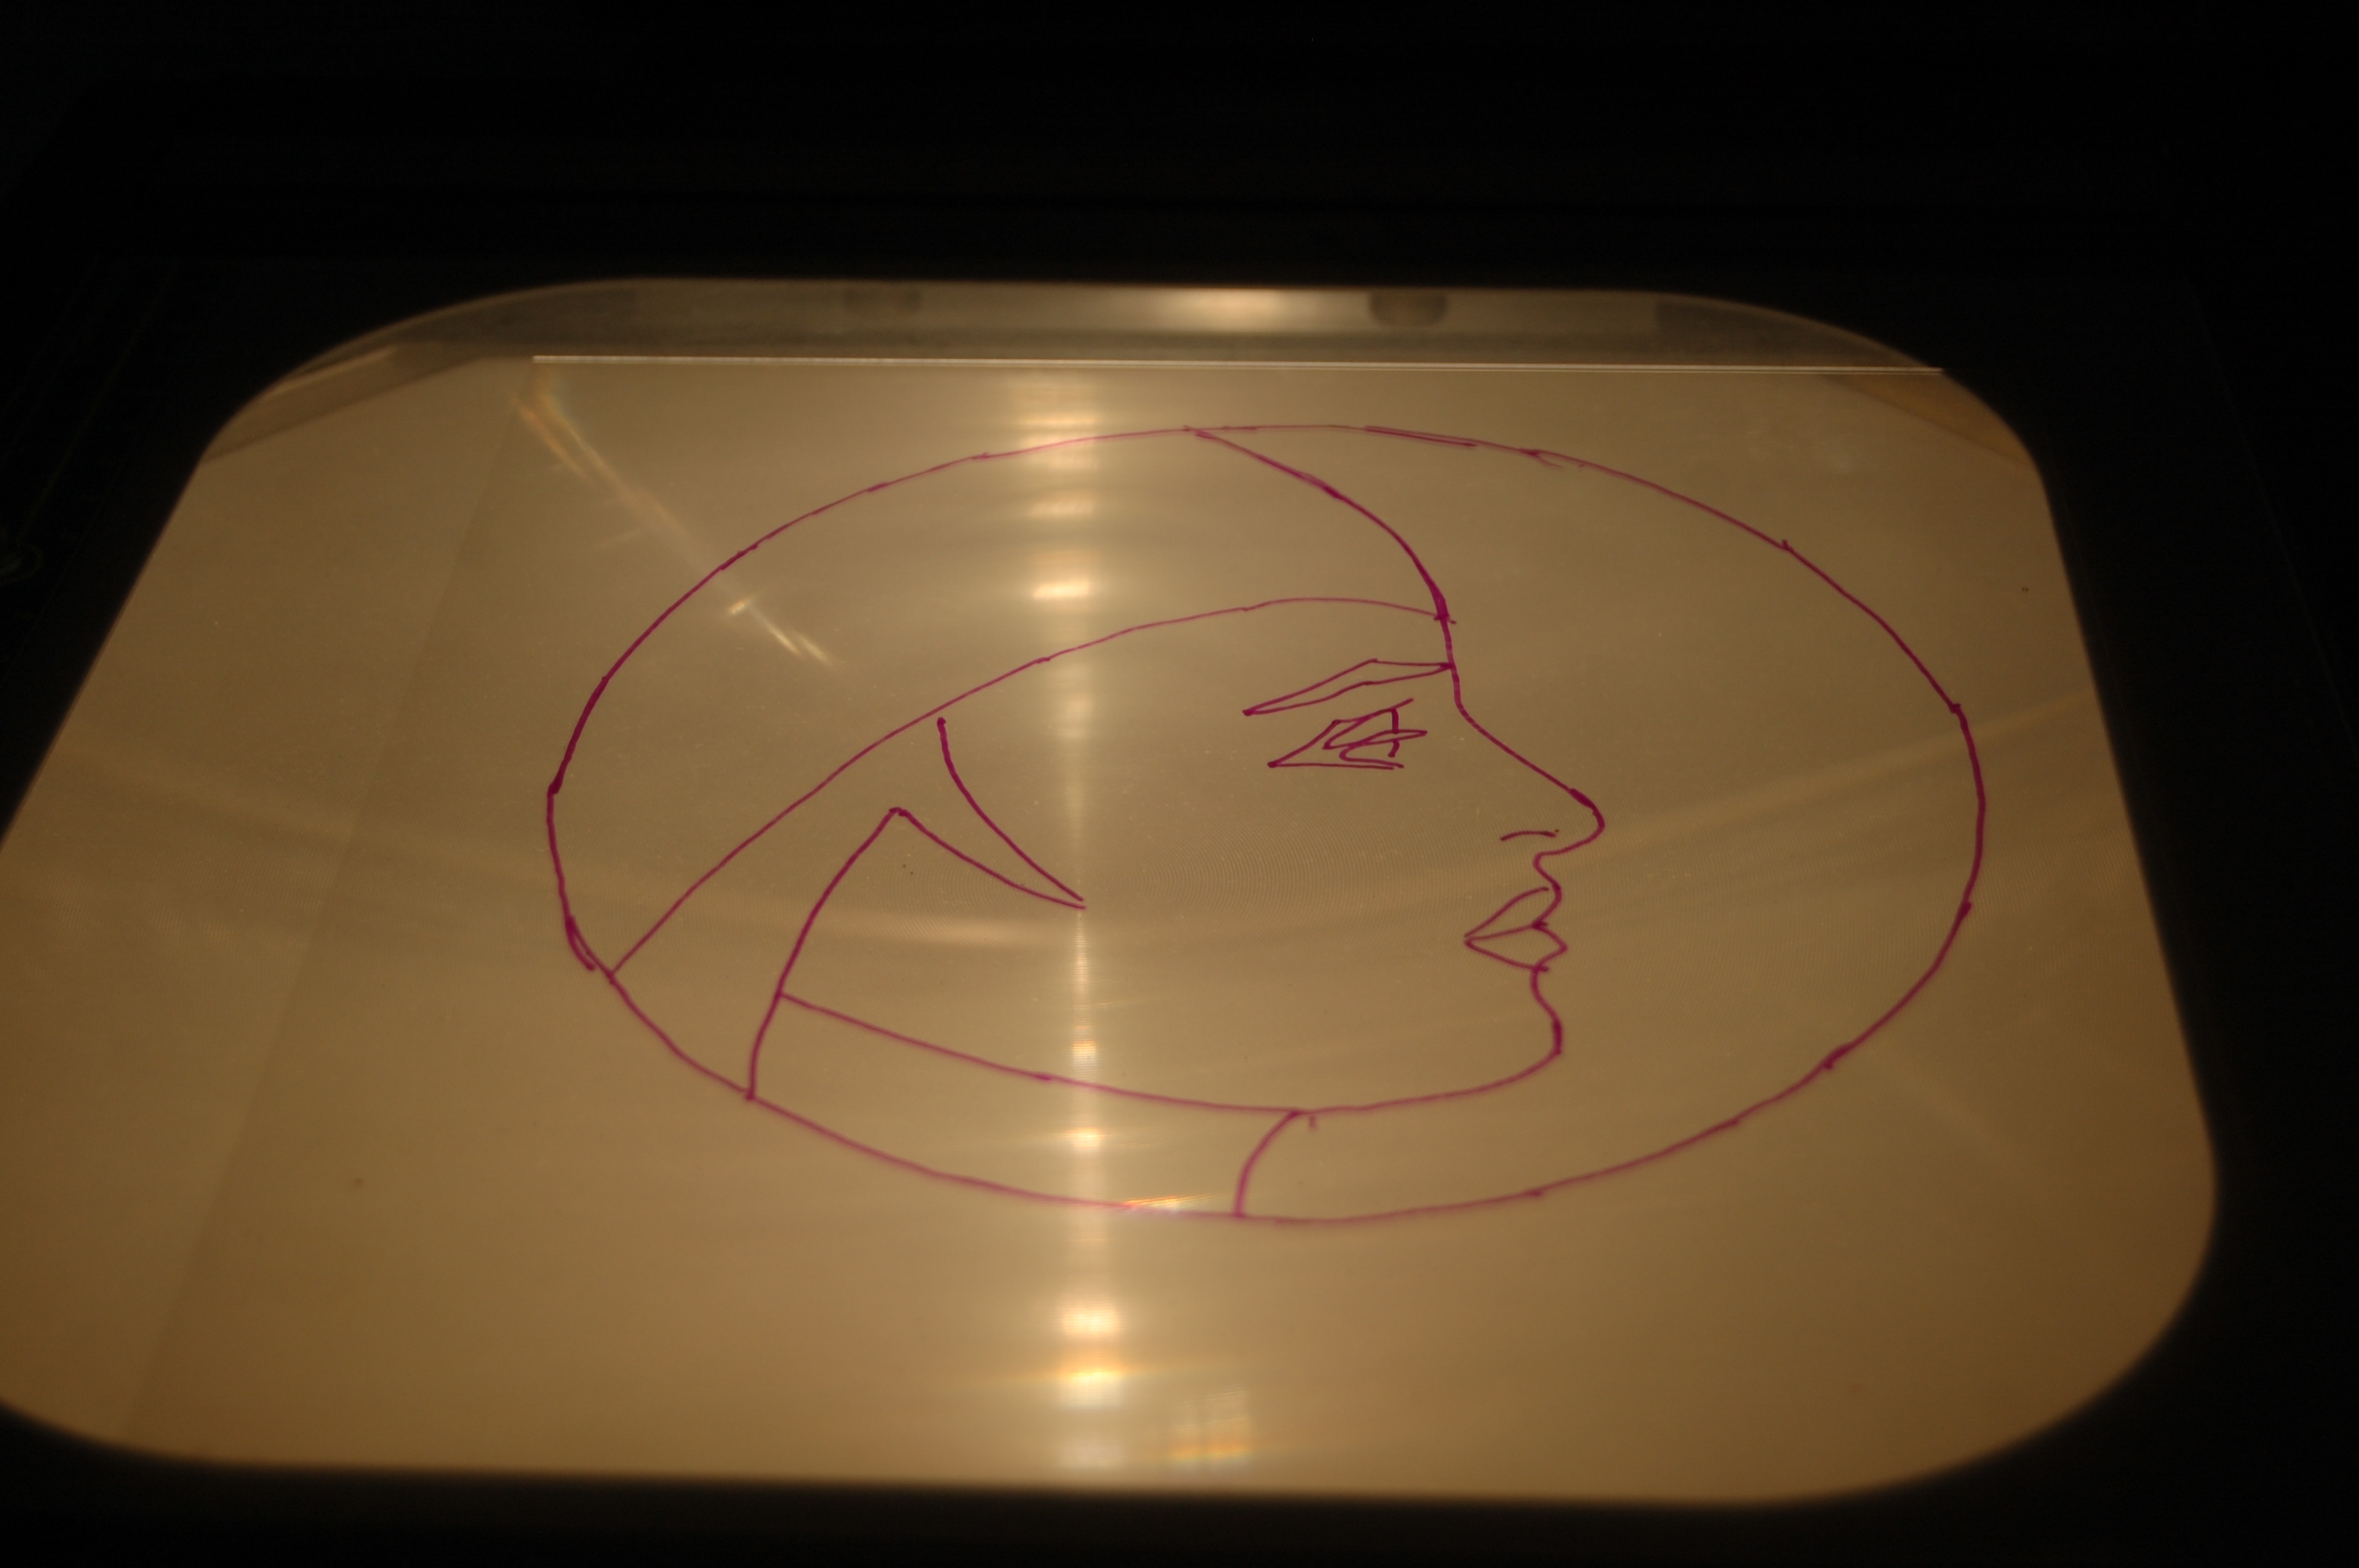
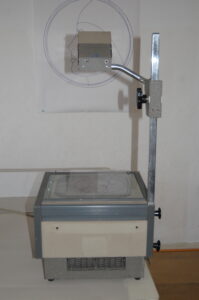
The motif is transferred to transparent film and placed on the overhead projector, the desired size is set and the later seam courses are transferred to the (white) spinnaker cloth with a pencil.
3. Sewing
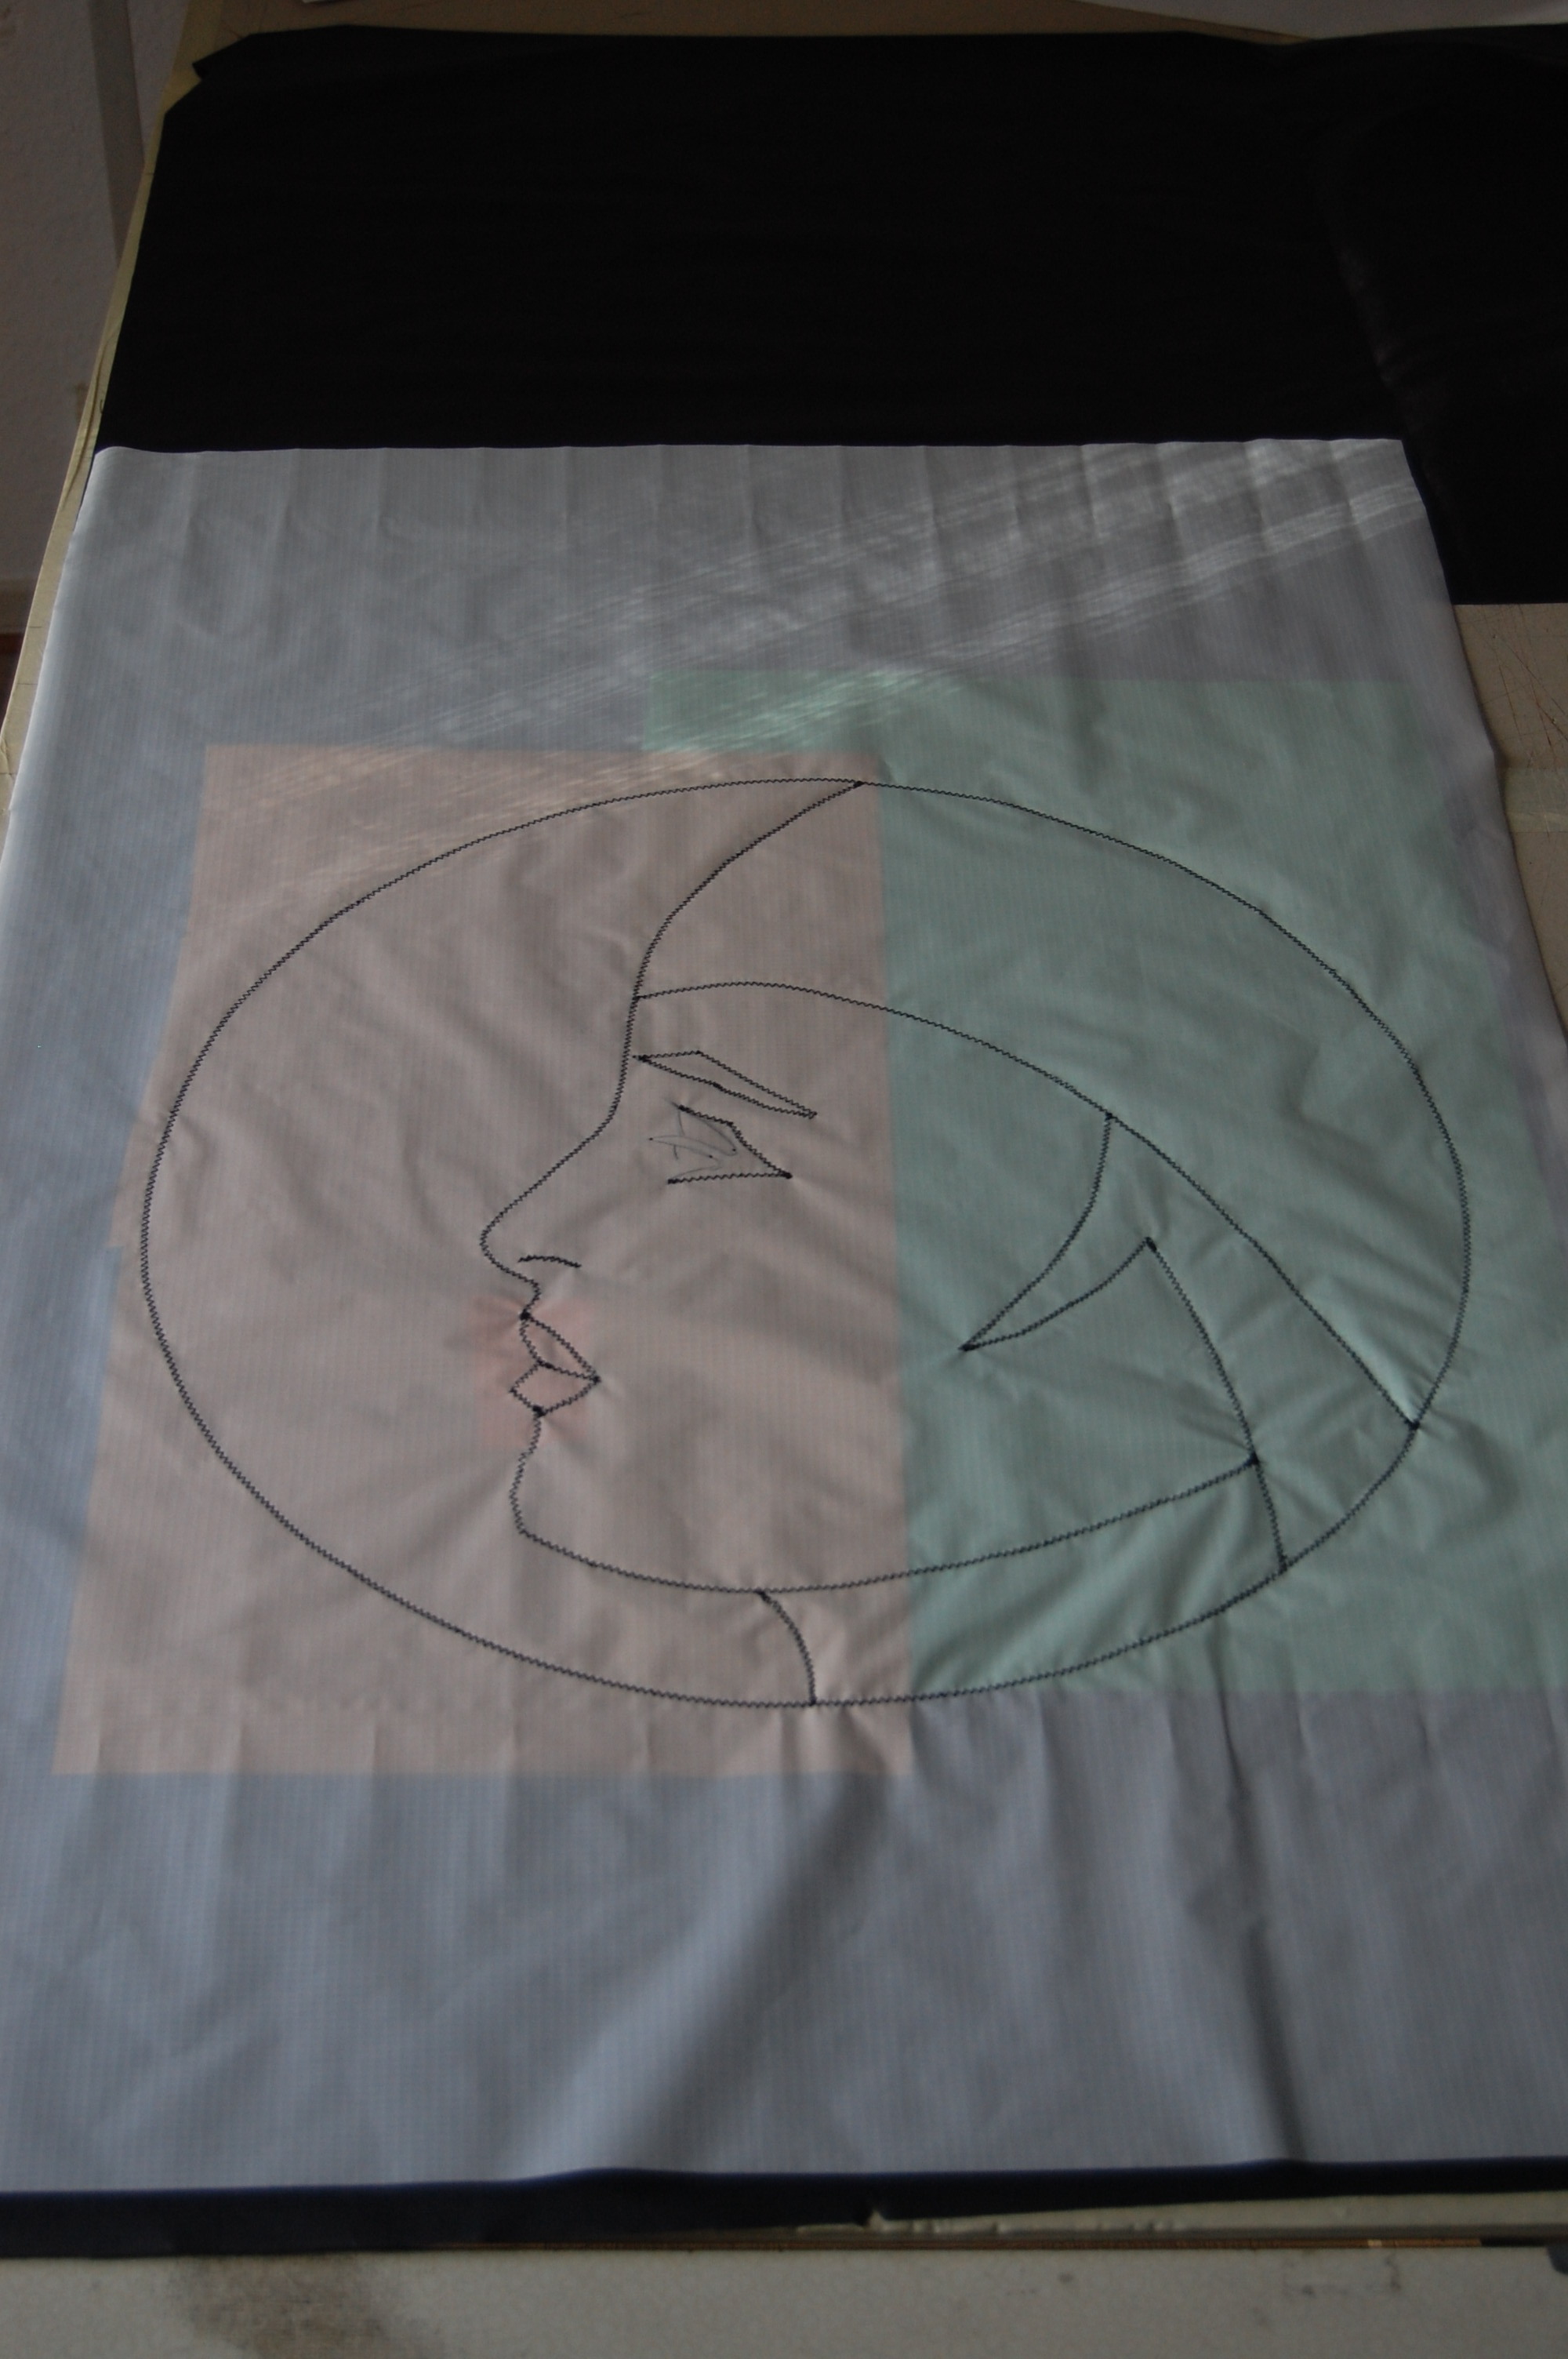
As the bottom layer, black spinnaker cloth is laid out on the cutting table. This cloth will later form the front of the kite.
Then the white cloth, on which we have drawn the seam courses and which later forms the back, is laid on the black cloth. I fix the layer on one side with 2 pins. Only on one side, so that I can still put the different spinnaker cloth pieces in the colors appearing in the motif between the two cloths. The pieces can be chosen generously, so that you are sure to cover the whole field. If two or more colors overlap, the darker one is always below the lighter one.
When everything is in the right position, take a soldering iron with a fine tip and use it to staple the layers of cloth together. The stitching points lie on the drawn sewing lines and can have an irregular distance, the purpose is only to keep the cloth layers in position while sewing.
If you later hold the finished sail against the light, you can clearly see the stitches, but in my experience they have no influence on the strength or durability of the seam.
Now sew all layers of fabric together with a zig-zag stitch of your choice on the drawn lines (not too tight, otherwise the cloth will be too perforated – not too wide, otherwise the lines visible after cutting free will be too wide), do not choose the thread tension too high, otherwise the cloth will shrink, especially if light cloth is used.
You should think about the sewing direction or the sewing sequence as well as where to set off or where you just have to reorient.
4. Cutting free
After you have made sure once again which color you want to see at which point of the sail, you start cutting free. The goal is to have only one color or one spinnaker cloth in the desired color at each point of the motif. So from the front side (that is the side with the black spinnaker) I cut away all cloth layers before the desired color. I do the same on the back side. This is done by piercing the cloths with a seam ripper and cutting away the cloths along the zig-zag seam with a sharp pair of scissors, starting at the slit just made.
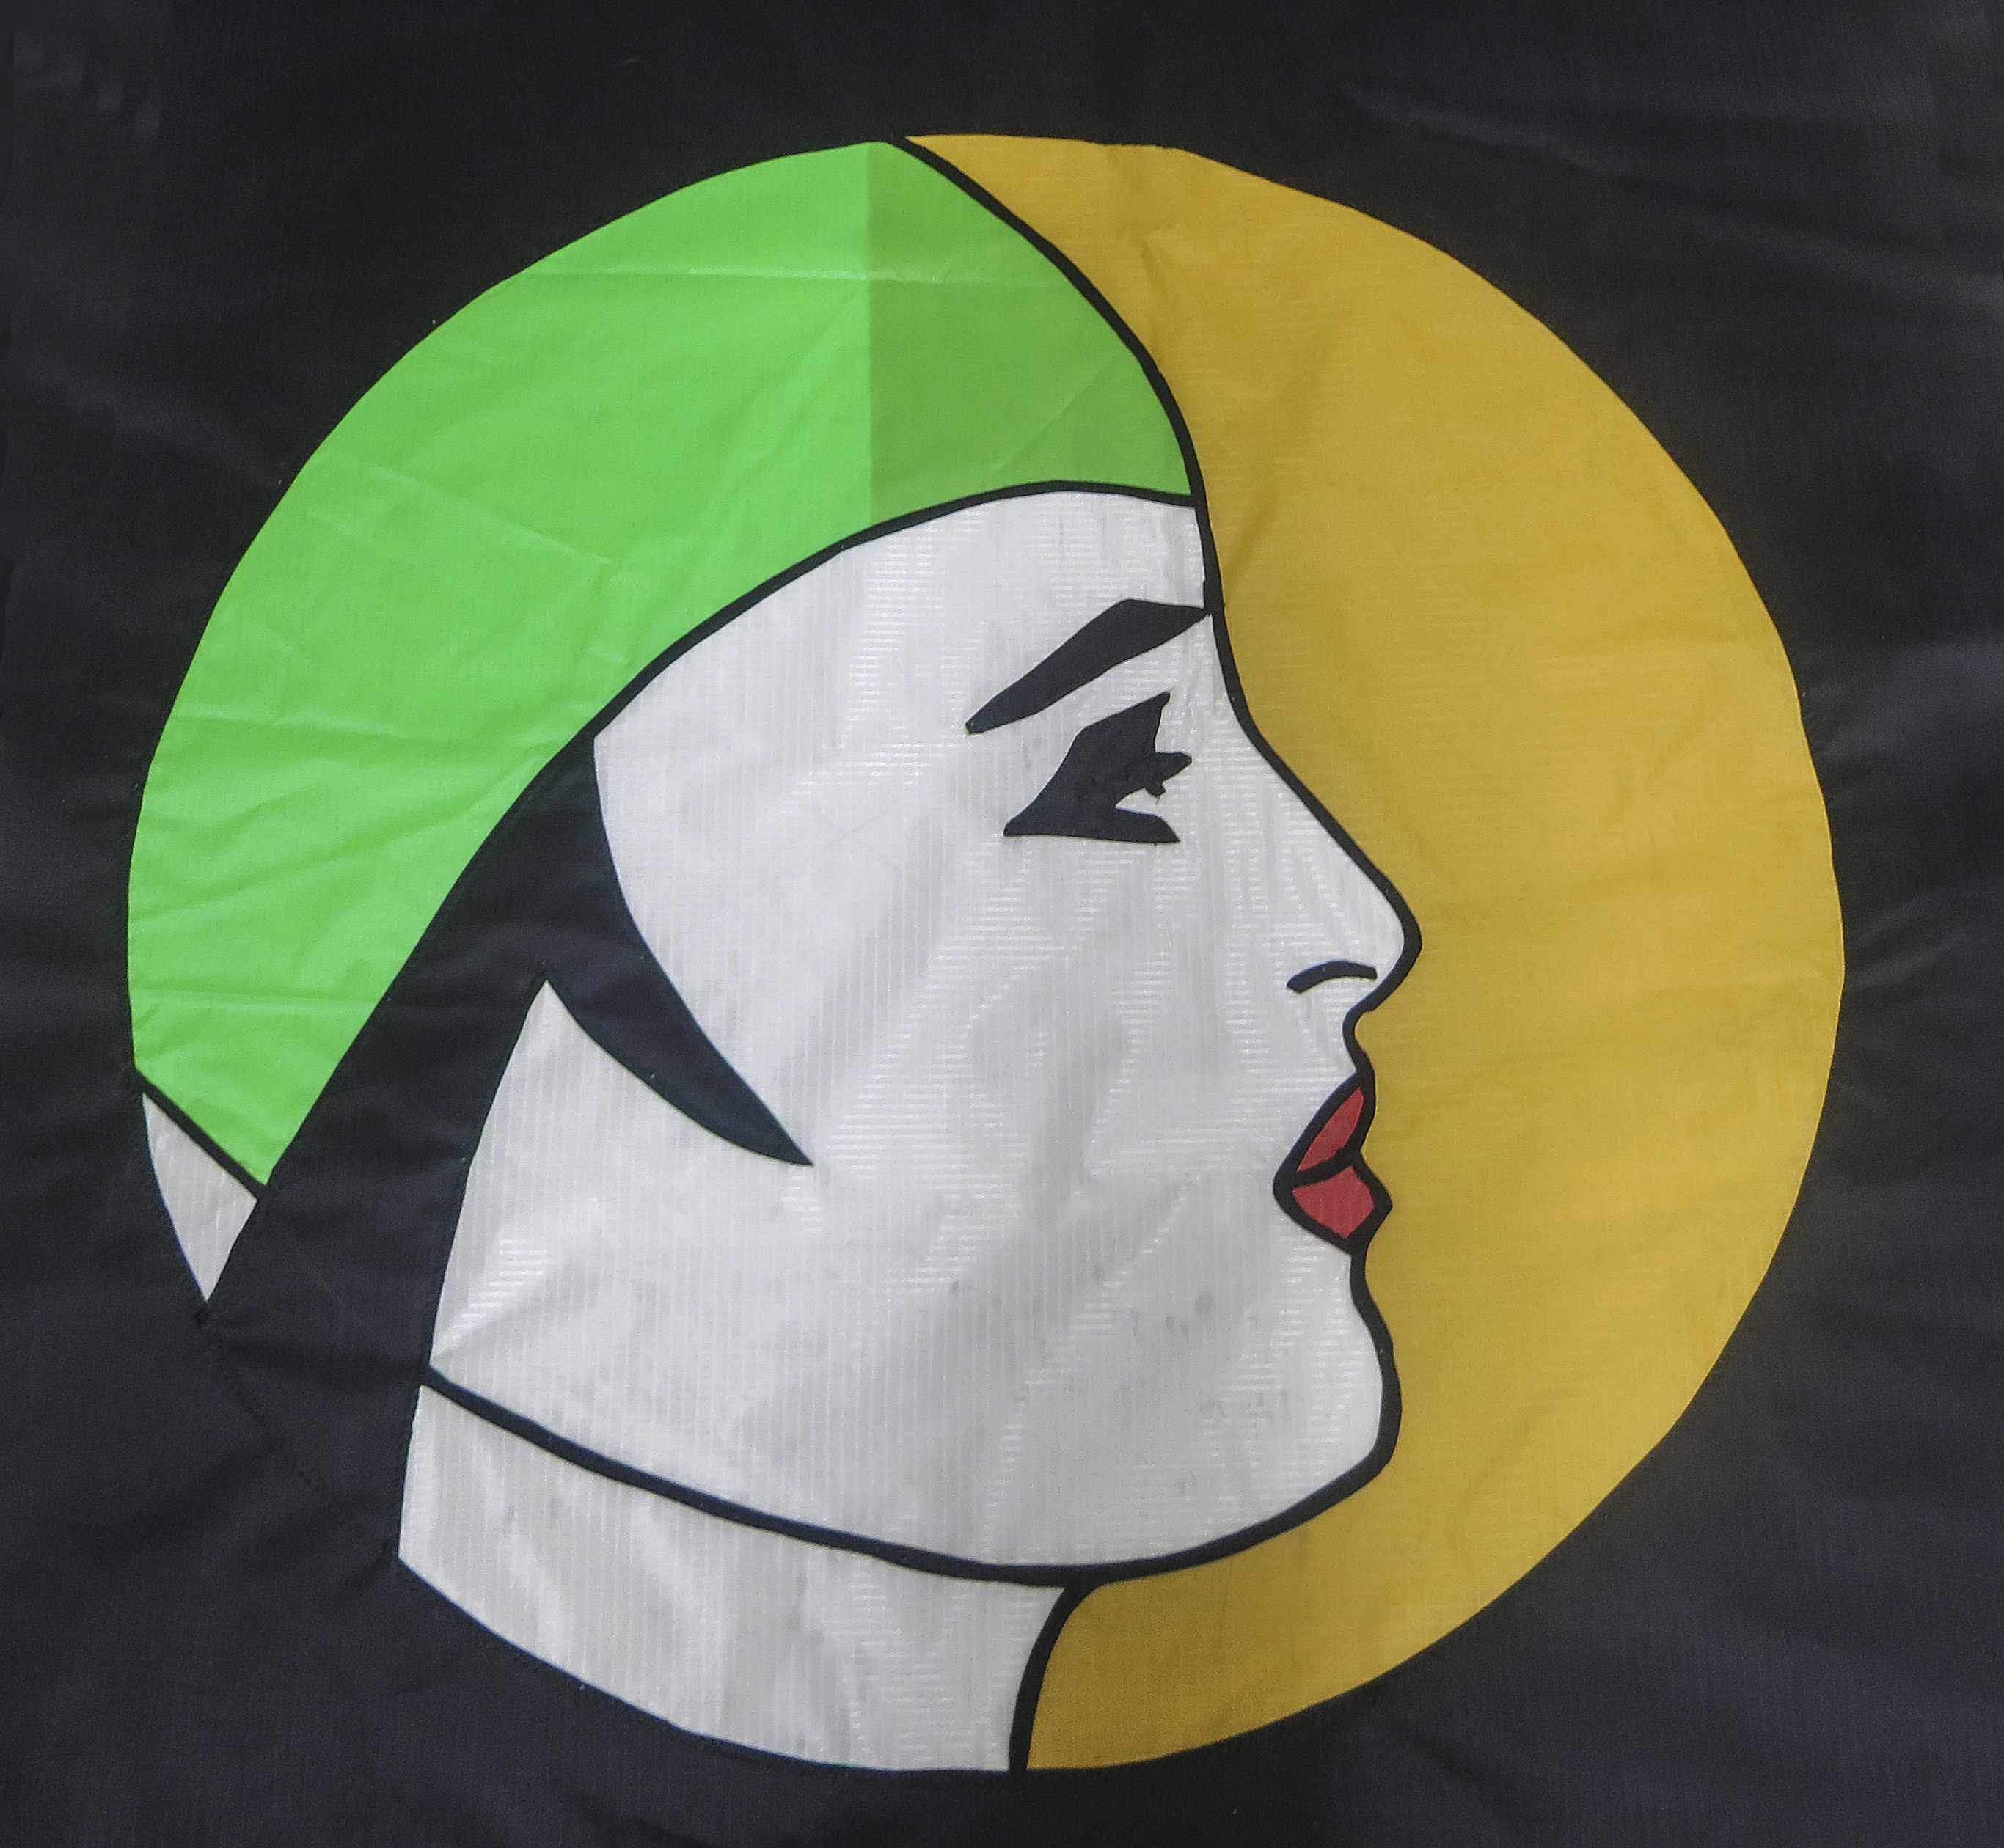
The gold-colored cloth, which is still partially behind the green, still needs to be removed. In addition, the finished motif deviates a little from the template. Who sees where and also knows why?
With this, the pure application work is finished for now and it goes on to finish the dragon. If that interests you, you can read on here.